Vizard 8 » Content Creation » 3D Models » OSG Workflow » Shader Effects
8.3.1
Vizard can automatically generate advanced shader effects for OpenSceneGraph models exported using the OSG Max Exporter. Effects include bump, detail, specular, parallax mapping and more. The following sections describe the various effects that can be imported from 3ds Max.
To get started creating these effects, you must first install the latest OSG Max Exporter from the WorldViz downloads page. Once installed, just follow the simple steps below in order to export effects that are supported by Vizard:
Within your Vizard script, use the vizfx.addChild command to load the model and automatically generate the shader effects. The example screenshots below use the following code to load the model and apply lighting:

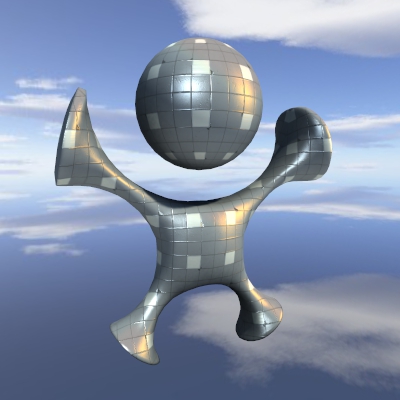
Diffuse controls the underlying color of an object.

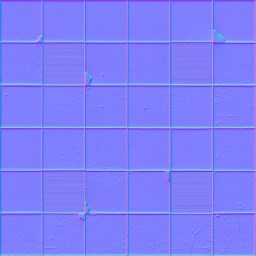
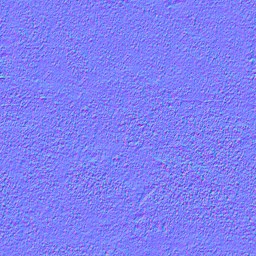
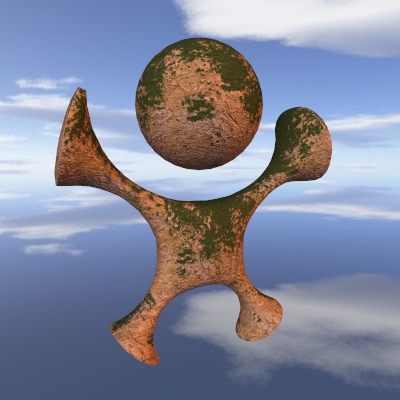
Bump mapping is an efficient method for simulating the irregular, bumpy surface of an object. A normal map is used to control surface normals and how light bounces off the object. The result is a surface with varying levels of relief without actually modifying the geometry.
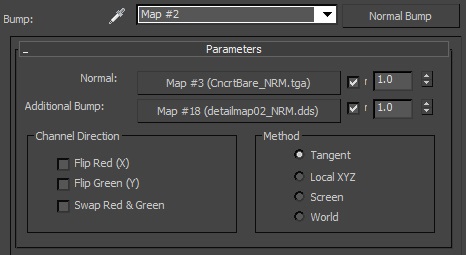
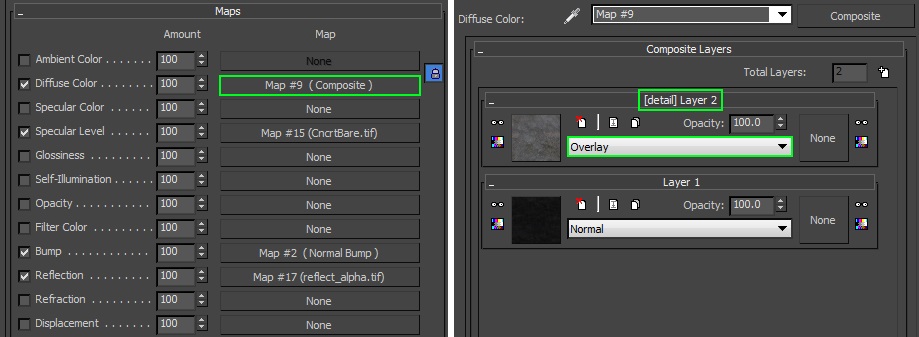
Detail mapping is a memory efficient method for adding close up detail to the surface of objects. A greyscale image is blended with a low resolution base texture to provide additional detail as the viewpoint gets close to the object surface. Some common uses for this include detailed terrain and roads. Detail maps are specified through the composite layer in the Diffuse Color, Specular Color, Specular Level, Glossiness, or Opacity slot with the [detail] tag in the layer name. For the diffuse detail map, the composite layer blending mode controls how the map is combined with the base diffuse color. To specify additional detail for a bump map, use the Additional Bump slot (See Bump effect above).

Specular highlights are the reflections that appear on smooth surfaces. This effect controls the color of those highlights.
Note: 3ds Max sets the default Specular Level percentage value to 0. If you want to enable specular highlights, we recommend setting the value to 100.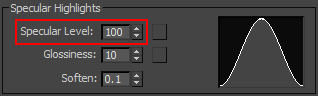

Specular level is a scale factor applied to the specular color (black = no specular, white = 100% specular). This effect controls the intensity of highlights.

Glossiness controls the shininess of a material and the size of highlights (higher values = smaller, sharper highlights, lower values = larger, spread out highlights). This is commonly used to create metallic and plastic surfaces.
Note: 3ds Max sets the default Specular Level percentage value to 0. If you want to enable specular highlights, we recommend setting the value to 100.

Emissive is used to simulate the light or glow emitted from an object. It controls the emissive color, which is added to the final color of an object and is unaffected by lighting. Some common examples include the glow from a light bulb and neon sign.


Alpha controls the transparency of an object (black = transparent, white = opaque).
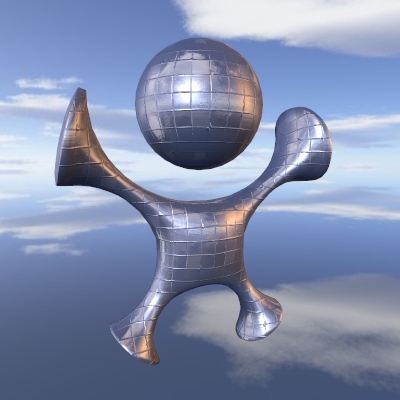
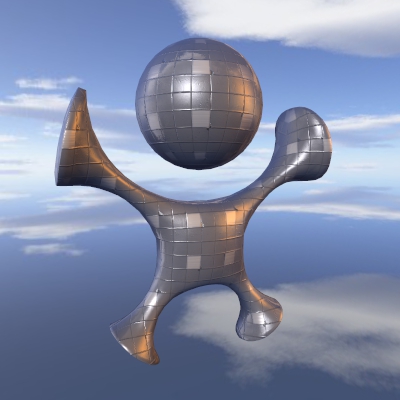
Reflection mapping is a technique for adding reflections to the surface of an object. The specularity of the material is used to control which regions of the surface appear reflective.
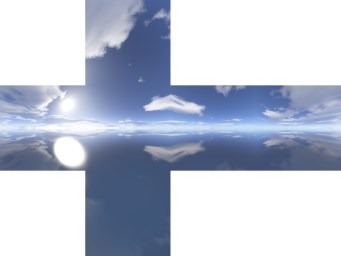
The content reflected is determined by the reflection map. The reflection map can be either a standard 2D image or a cube map.
Note: If a material has no specularity, then the reflection map will not appear.
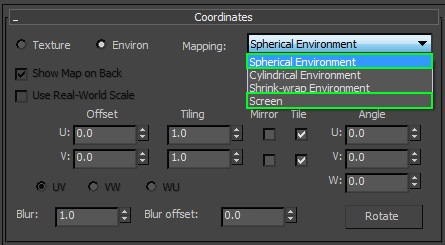
Spherical Environment and Screen mapping methods are supported with bitmaps used as reflection maps:
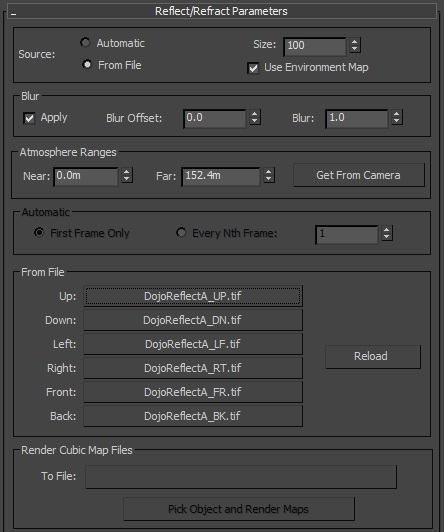
To use a cube map select Reflect/Refract for the map type and automatically generate the cube map from the active scene or specify pre-computed textures:
![]()
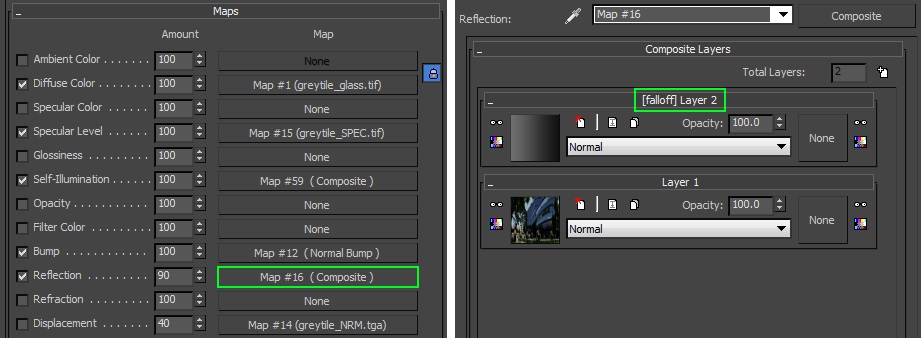
Used to control the strength of reflections based on the viewing angle. This is commonly used in the simulation of glass and water, where the amount of reflection varies and even disappears depending on the angle. The falloff map is specified through the composite layer in the Reflection slot with the [falloff] tag in the layer name:
![]()
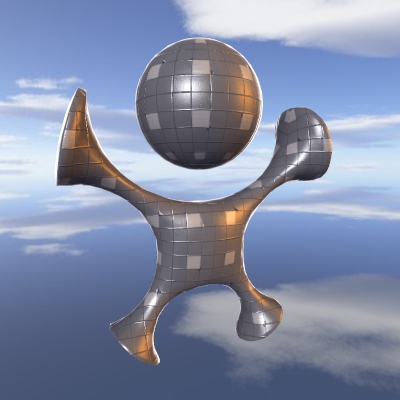
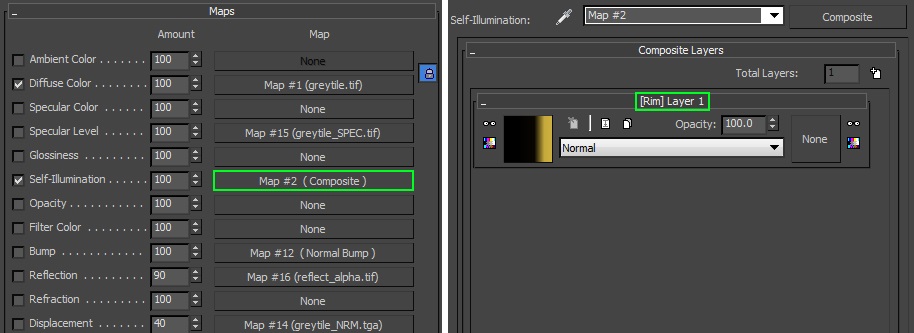
This effect adds a glow around the object's rim which is unaffected by lighting. It is typically used to differentiate an object in the foreground (e.g. character) from the background scene.

Rim Radial creates a glow around an object similar to the Rim effect. In addition, it allows for different rim colors depending on the direction the surface is facing.
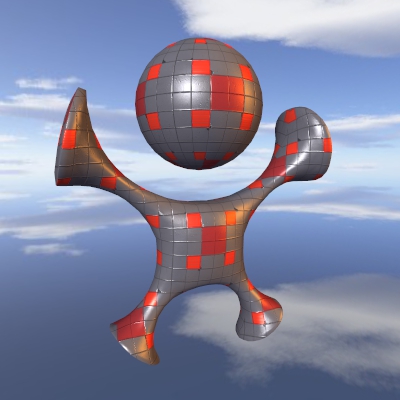

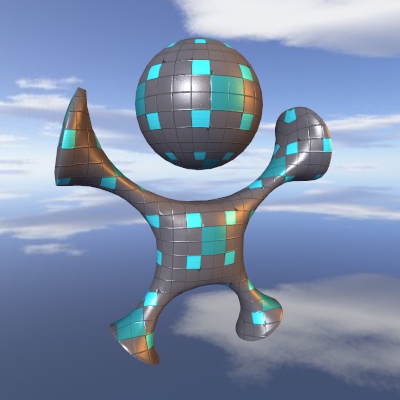
Tinting allows combining the swatch color of the material with the diffuse map color. This is useful for dynamically adjusting colors of a model within a script by using the <node3d>.color command. The tint map controls how much tinting to allow (black = no tinting, white = full tinting).
For example, loading the model pictured above and changing the node color from red to cyan would result in the following change:
Specified through composite layer in the Diffuse slot with [tint] tag in layer name
Uses UV coordinates of diffuse map
Uses mono channel output (either red or alpha value, depending on setting)
Composite layer blending mode controls how swatch color is combined with diffuse map color
Common blending modes are Overlay and Multiply
Used to enable a refraction effect that is not physically accurate but is still very convincing and is also very cheap compared to ray tracing methods. This is commonly used to simulate the displacement of objects seen through water and glass.
Parallax mapping enhances the simulation of depth seen in bump mapping. Texture coordinates on the object surface are displaced based on values from a height map and the viewing angle. For objects such as brick walls, the effect is a greater sense of contrast between the bricks and cracks.
To conserve texture memory, the height map is typically saved in the alpha channel of the normal map. The normal map is placed in both Bump and Displacement slots. Mono Channel Output specifies the channel of the height map within the normal map.
This effect uses the luminance values stored in a light map to add static shadows and light to an object or scene. It is commonly used to simulate the global illumination that results from light bouncing around the environment. Realistic lighting is difficult to achieve in real-time, and when it is, it takes a lot of processing power. By letting 3ds Max calculate realistic lighting before hand on, none of that processing has to be done in real-time and the graphics card can display a complex scene with a high frame rate. To apply this effect, bake the lighting into a light map, and place the light map in the Ambient Color slot of the object's material.
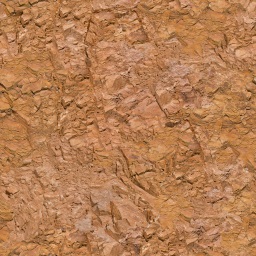
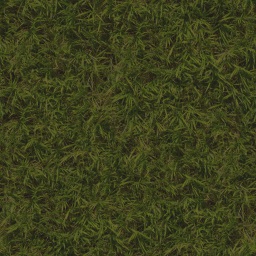
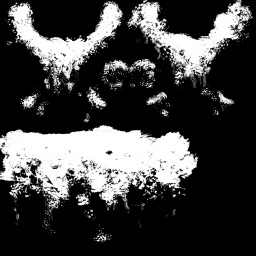
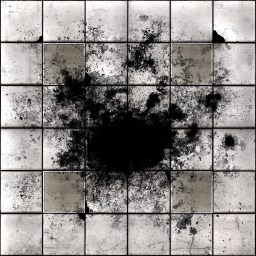
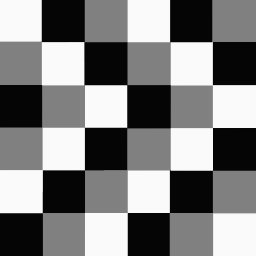
Blend materials can be used to combine two different materials on the same object using a blend mask. They are commonly used with terrain surfaces for adding non-tiled variation (e.g. grass growing over dirt). Blend materials are composed of two sub-materials and a blend mask. The blend mask controls how the two materials are combined (black = 100% of material 1, white = 100 % of material 2). The images below show the two materials and blend mask used to create the image above:
|
|
|

|
| 3ds Max blend material settings for example above |