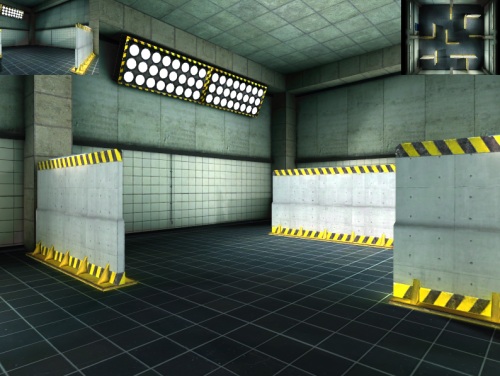
Now we will add another subwindow and viewpoint which will show a rear view of the scene. The code is similar to creating the birds-eye-view:
If you run the script you will notice that the new subwindow is on top of the birds-eye-view window. The following code will move the new subwindow to the upper-left corner of the screen:
This tells vizard that the subwindows upper left corner should be placed at screen coordinates (0,1). Remember that screen coordinates range from 0 to 1 where (0,0) is the bottom-left corner of the screen and (1,1) is the upper-right corner of the screen.
Now we need to have the rear view point behind the main view. To do this we need to create a link between the MainView and the RearView.
Now run your script and the rear view should always be pointing behind the main view.

Windows and viewpoints come in handy when you want to see your scene from multiple angles at the same time.