Vizard 8 » Tutorials & Examples » Appearance & texturing » Environment mapping » Tutorial: Applying environment maps
8.3.1
After loading the maps, we need an object to apply the environment map to. The following code will add the vizard logo and place it in front of the viewer:
Now we're ready to apply the texture env we built in the previous section:
Try this now by pressing F5 to run the script and see the results. You'll see that the maps are etched onto the object and not acting like reflections. This is because there is one last important step we need to perform. We need to set the appearance of the logo to viz.ENVIRONMENT_MAP:
Run your script to see the environment map on the logo. To make the reflections stand out more try adding the following code to spin the logo:
If you want to control the shininess of the object please take a look at the multitexturing tutorial.
Before:

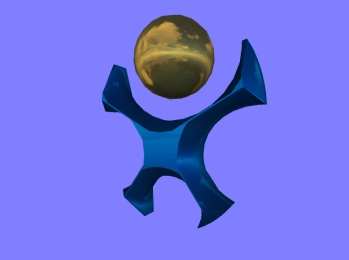
After:
For additional examples, check out: