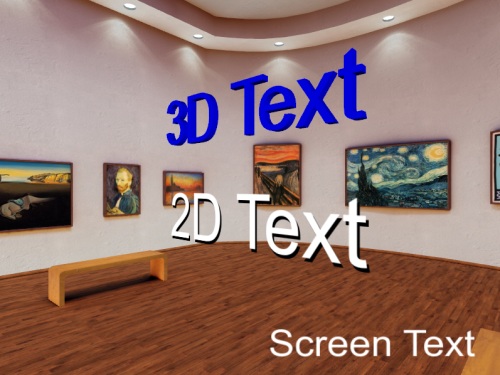
First, let's use the viz.addText3D command to place a 3D text object in the gallery:
By default, text is aligned with the bottom left corner. Run the script, and you'll see that the bottom left corner of the text is at position [0,2.5,4]. If you were to apply a spinning action to the node, it would rotate around that point. It can be useful to change the alignment mode, depending on how text is positioned and used in the scene . For example, to center this text in the gallery, add the following line:
The <node3D:text3D>.alignment command supports many other alignment modes. Take a look at the various viz.ALIGN_. flags for your options.
Now, change the color of the text using the <node3D>.color command:
Next, let's add some 2D text using the viz.addText command. Add the following code and run the script to add 2D text below the 3D text:
Most text specific commands work with 3D and 2D text objects. For example, with both objects you can change the text message, fonts, and alignment modes. One feature specific to 2D text is backdrops. Backdrops give 2D text a nice appearance and can be applied in different colors and offsets. The following code adds a backdrop to the text and increases the resolution for a sharp image:
If you view the 2D text from an angle, you'll see that it's noticeably darker in appearance. To change this, disable the effect of real time lighting on the object:
To add text to the screen, use the viz.addText command with the viz.SCREEN flag:
To position screen text, specify X,Y screen coordinates in the [0,1] range. The position [0,0] is at the bottom left corner of the screen and [1,1] is at the top right corner. As with text placed in the world, the alignment mode will affect the final position. Run the script and you'll see the text aligned with the bottom left corner of the screen. This is because it's position is [0,0] and the alignment mode is set to the default viz.ALIGN_LEFT_BOTTOM.
Add the following code to set the text position near the bottom right corner:
