Vizard 8 » Content Creation » 3D Models » OSG Workflow » Animation Paths
8.3.1
You can easily create complex animation paths in 3ds Max to move objects or the viewpoint in Vizard. There are many tutorials online that show different techniques for creating these animations. Once you have an object or camera moving along a path in Max, simply export the scene with Animations checked in the OSG exporter.
If an object is linked to the path in Max and exported in the same osg file, it will move automatically. No additional code is needed for it to play after loading the file. You can also export an animated path without any associated geometry to animate objects loaded separately or the viewpoint. To do that, export either a dummy object or a camera. The following example code shows how to parent an avatar to a dummy object:
To move the viewpoint with an animated camera, insert a group node under the camera, and then link the viewpoint to the group node:
To see this in action open up the \examples\animations\ImportedAnimations.py example script included with Vizard (File > Quick Open: type ‘ImportedAnimations’) Both a male and pigeon avatar are linked to the same walking path with a time offset. Use the drop down menu to link the viewpoint to the fly animation.
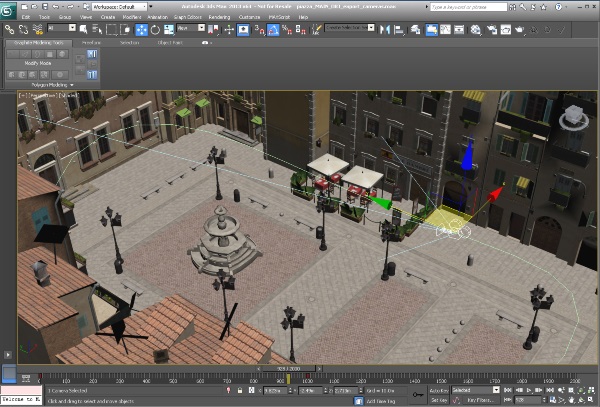
The following image shows a camera linked to a spline in Max.
The following videos show animation paths in Inspector and Vizard: