Vizard 7 » Reference » Shaders » Effects » Example Effects
7.5

Example Effects

Here you can find some sample effects demonstrating the various kinds of functionality that can be achieved with the effect framework.


You can also find a sample script demonstrating the use of shader effects at \examples\shader\shaderEffects.py.

Hello World

Here is a "Hello World" effect that simply applies the vertex color of the object to the material diffuse color:

Effect {
    Shader {
        BEGIN Material
        m.diffuse = vizfx_VertexColor.rgb;
        END
    }
}

Specular

Here we set the specular color of the material to white to enable specular highlights from the lights:

Effect {
    Shader {
        BEGIN Material
        m.diffuse = vizfx_VertexColor.rgb;
        m.specular = vec3(1.0);
        END
    }
}

Texture

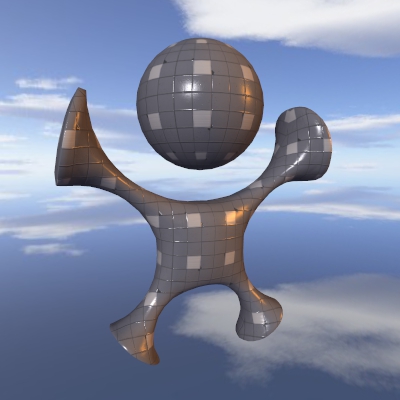
Here we apply a 2D texture property to the diffuse color. The effect uses the texture applied to unit 0:

Effect {

    Texture2D DiffuseMap {
        unit 0
    }

    Shader {
        BEGIN Material
        m.diffuse = texture2D(DiffuseMap, uvDiffuseMap).rgb;
        m.specular = vec3(1.0);
        END
    }
}

Bump Mapping

Here we implement bump mapping using a normal map:

Effect {

    Texture2D DiffuseMap {
        unit 0
    }

    Texture2D NormalMap {
        unit 1
    }

    TangentCoordUnit 0

    Shader {
        BEGIN Material
        m.diffuse = texture2D(DiffuseMap, uvDiffuseMap).rgb;
        m.normal = vizfx_UnpackNormalMap(texture2D(NormalMap, uvNormalMap));
        m.specular = vec3(1.0);
        END
    }
}

Cubemap

Here we apply a cubemap reflection to the diffuse color:

Effect {

    TextureCube ReflectionMap {
        unit 0
    }

    Shader {
        BEGIN Material
        m.diffuse = textureCube(ReflectionMap, vizfx_CubeReflect).rgb;
        m.specular = vec3(1.0);
        END
    }
}

Bump Reflect

Here is a modified version of the previous example that uses a bump map to change the reflection vector. Note that the bump map must be applied before the cubemap reflection vector is used:

Effect {

    TextureCube ReflectionMap {
        unit 0
    }

    Texture2D NormalMap {
        unit 1
    }

    TangentCoordUnit 0

    Shader {
        BEGIN Material
        m.normal = vizfx_UnpackNormalMap(texture2D(NormalMap, uvNormalMap));
        m.diffuse = textureCube(ReflectionMap, vizfx_CubeReflect).rgb;
        m.specular = vec3(1.0);
        END
    }
}

Rim

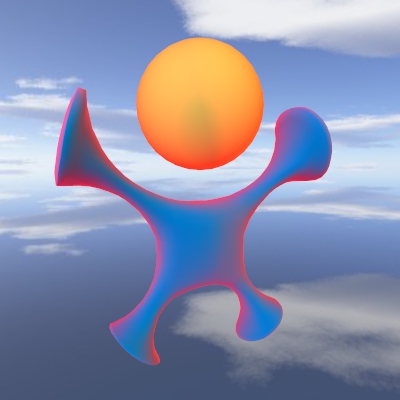
Here we apply a simple rim color effect to the emission color of the material:

Effect {
    Shader {
        BEGIN Material
        m.diffuse = vizfx_VertexColor.rgb;
        m.emission = vec3(pow(1.0 - dot(viewDir, m.normal), 1.5));
        END
    }
}

Rim Properties

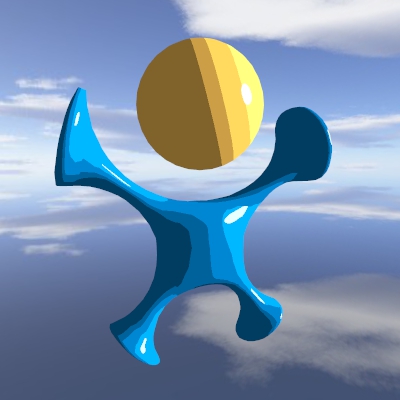
Here is a modified version of the rim effect which adds a couple properties to modify the rim color and power. In the photo below, the rim color is changed to red and the rim power is set to 0.8 within the script:

Effect {

    Float RimPower {
        value 1.5
    }

    Float RimColor {
        value 1 1 1
    }

    Shader {
        BEGIN Material
        m.diffuse = vizfx_VertexColor.rgb;
        m.emission = RimColor * pow(1.0 - dot(viewDir, m.normal), RimPower);
        END
    }
}
model.setUniformFloat('RimColor', viz.RED)
model.setUniformFloat('RimPower', 0.8)

Gray

Here we create an effect that renders the object in grayscale. Note how we use the FinalColor shader unit section to insert the code. Also, we specify a unique effect Type name, which allows the effect to be combined with the default material effects above:

Effect {

    Type Gray

    Shader {
        BEGIN FinalColor
        gl_FragColor.rgb = vec3(dot(gl_FragColor.rgb, vec3(0.222,0.707,0.071)));
        END
    }
}

Extrude

Here is a sample that targets the vertex PreTransform shader unit. It will extrude the vertex along the normal vector by the ExtrudeAmount, which can be dynamically adjusted within the script:

Effect {

    Type Extrude

    Float ExtrudeAmount {
        value 0.1
    }

    Shader {
        BEGIN PreTransform
        eyeVertex.xyz += eyeNormal * ExtrudeAmount;
        END
    }
}

model.setUniformFloat('ExtrudeAmount', 0.05)

Fragment Clipping

Here is a sample that targets the FragmentInit shader unit to perform custom clipping. It will use the fragment world position (vizfx_WorldPos) to conditionally discard the fragment:

Effect {

    Type SwissCheese

    Shader {
        BEGIN FragmentInit
        if( distance(vizfx_WorldPos, floor(vizfx_WorldPos * 10.0 + 0.5) / 10.0) < 0.035) {
            discard;
        }
        END
    }
}

Toon Lighting

Here we target the DiffuseModel and SpecularModel shader units to create a simple toon lighting model:

Effect {

    Type LightingModel

    Shader {

        BEGIN DiffuseModel
        const float A = 0.1;
        const float B = 0.3;
        const float C = 0.6;
        const float D = 1.0;
        float diffuse = max(0.0, dot(l.direction, m.normal));
        if (diffuse < A) diffuse = 0.0;
        else if (diffuse < B) diffuse = B;
        else if (diffuse < C) diffuse = C;
        else diffuse = D;
        g.diffuse += l.attenuation * l.color * diffuse;
        END

        BEGIN SpecularModel
        float spec = pow(max(0.0,dot(reflect(-l.direction,m.normal),viewDir)),m.shininess);
        g.specular += l.attenuation * l.color * step(0.5, spec);
        END
    }
}

Effect Basics

Lighting Effects

Projector Effects

Custom Effects

Example Effects