Vizard 8 » Reference » Shaders » Effects » Lighting Effects
8.3.1
The vizfx library includes various lighting related effects for use with effect-enabled objects.
The vizfx library supports three basic types of lights: directional, spot, and point.
Directional lights are typically used to simulate sunlight or infinitely far lights. They only cast light in a single direction. The rotation of the light object controls the direction of the light. The position of the light has no effect. The vizfx.addDirectionalLight command is used to create a directional light:
Spot lights are used to simulate lights that are focused in a specific direction (e.g. flashlights). The position and rotation of the light object affect how it is cast upon objects. The <light>.spread command can be used to control how narrow or wide the focus of the spot light is. The vizfx.addSpotLight command is used to create a spot light:
Point lights are used to simulate lights that cast in all directions. The position and rotation of the light object affect how it is cast upon objects. The vizfx.addPointLight command is used to create a point light:
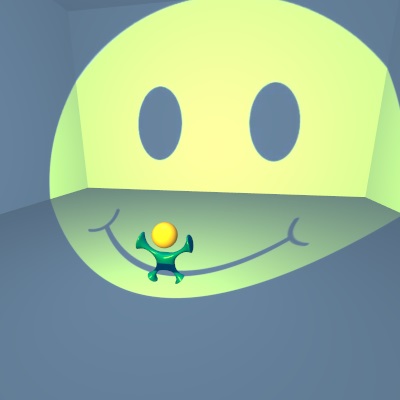
The vizfx.addSpotLight and vizfx.addPointLight commands support an optional texture parameter that allows projecting an image from the light source. The color in the projected texture is multiplied against the light color.
For spot lights, the texture must be a standard 2D <texture> object. The example below shows how to attach a standard texture to a spot light:
|
| Spot light with attached texture |
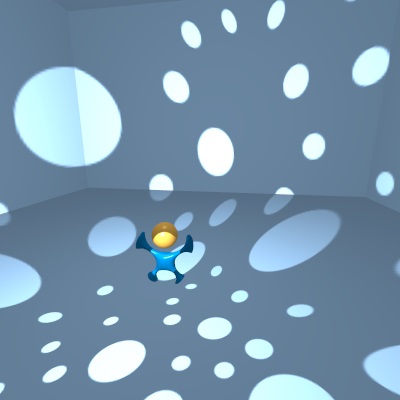
For point lights, the texture must be a cube map <texture> object. When attaching a texture to a point light, the rotation of the light will affect the projected direction of the cube map texture. The example below shows how to create a point light with a cube map texture attached:
|
| Point light with attached cube map texture |
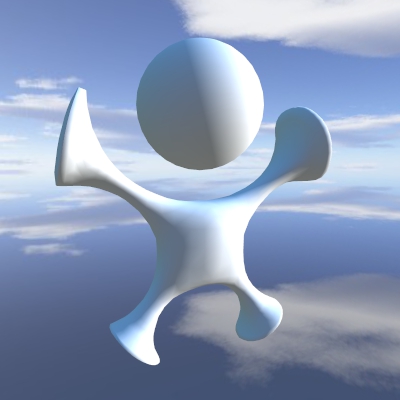
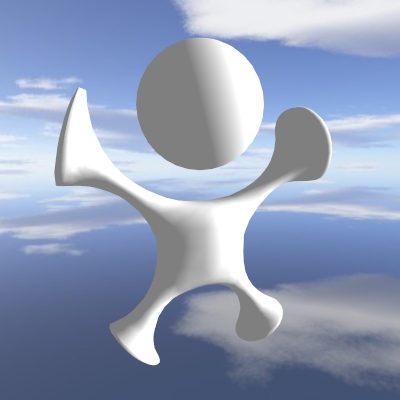
Ambient light represents the light coming from the environment and affects all surfaces equally. The default composer automatically applies an ambient light effect. The image below uses the default gray ambient color:
|
| Default gray ambient color |
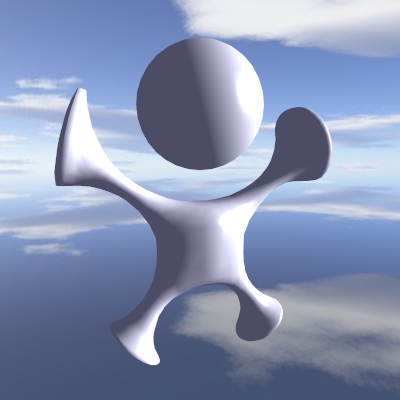
The default ambient light color can be accessed using the vizfx.setAmbientColor and vizfx.getAmbientColor commands. For example, the following code would change the default ambient color to blue:

|
| Blue ambient color |
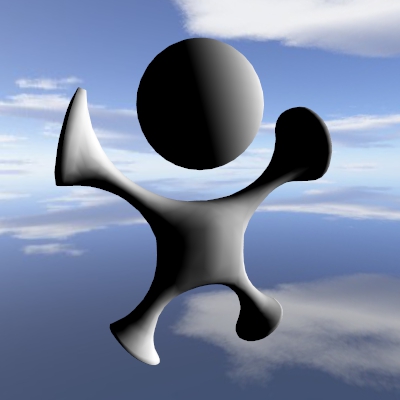
Setting the ambient color to black will effectively disable the ambient light:
|
| Black ambient color |
An ambient light effect can also be manually created using the vizfx.addAmbientEffect command. The resulting effect can be applied to any node to override the default ambient color:
Directional ambient lighting can also be specified using a cube map. This is commonly used with low frequency cubemaps, where the normal vector is used to look up the ambient light for the surface. This can result in more realistic ambient lighting for dynamic objects in localized environments. The vizfx.addAmbientCubeEffect command can be used to create directional ambient light effects. The following example creates a directional ambient light effect and replaces the default ambient color effect with it:
|
|
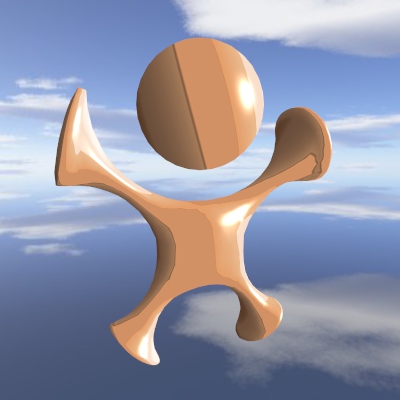
The lighting model controls how the surface properties of an object interact with lights to produce shading. The default composer automatically applies a lighting model effect that uses the Lambert model for diffuse shading and the Phong model for specular reflectance. The image below uses the default lighting model:
|
| Default Lambert diffuse model and Phong specular model |
A lighting model effect can be manually created using the vizfx.addLightingModel command. The command allows for changing the diffuse model (Lambert, Half-Lambert), the specular model (Blinn-Phong, Phong, ...), and using ramped diffuse lighting with a texture.
For example, the global lighting model can be easily changed to use the Half-Lambert diffuse technique using the following code:

|
| Half-Lambert diffuse lighting model |
The following example shows how to use a diffuse ramp texture to create a stylized diffuse shading model:
|
|